The previous owners of our Mansfield property left behind some junk—old car tyres, fencing wire, roof riles—so I’ve taken an interest in re-purposing old things. These creative endeavours have the triple goal of being practical, frugal and clearing the scrap heap. Normally, I leave handyman matters to Barto, but our to-do list is so long, I had to step up.
Our first project was to make two coffee tables for the front deck, our favourite spot to unwind after a day of farm labour. With a view over Lake Eildon, it catches the evening breeze. It also bears the brunt of storms, so outdoor furniture must be sturdy enough to withstand rough weather.
Full of enthusiasm and internet inspiration, we wrote a shopping list. For each table, we needed:
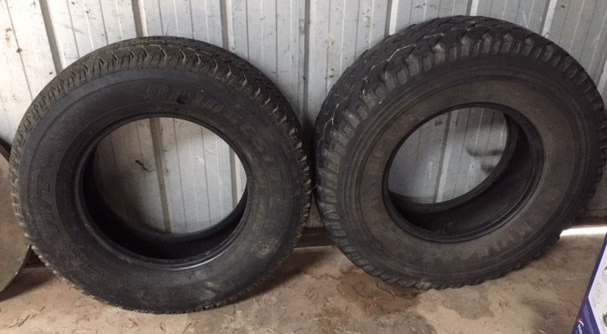
1 tyre
2 wooden circles cut to cover the hole in the tyre
3 table legs
1 bolt
1 metal rod
2 cans red spray paint
1 can black spray paint
We already had the tyres, so I hosed them down to clean them up.
Meanwhile, in my wanderings around the home paddock, I found a metal circle wedged at the base of our ghost gum (see Alone at Mansfield). On closer inspections, I discovered it was an old table top. I dragged my discovery to the shed like a cat dropping a dead mouse on the front door step.
The next day, Barto mentioned that he’d spotted a similar circle half buried next to the shed. Armed with a crow bar, I jimmied it out of the ground. Sure enough, it was an identical table top. Ha! This would save us money. I deleted some wood from our shopping list.

Off to Bunnings we went (for my American friends, think Home Depot). And here’s where the project lost sway. The parts, plus a spare pad for the angle grinder, cost us close to $200. We could have bought an aluminium outdoor table for $69. In fairness, it probably would have blown over in the first gust of wind, but our DIY was starting to look expensive.
Undeterred, we launched ahead.
Step 1: Clean up rusty metal table top with angle grinder
Step 2: Cut matching wooden circle (for underside)
Step 3: Spray paint table top and wooden circle red
Step 4: Spray paint bolts and table legs black
Step 5: Bolt legs to wooden circle
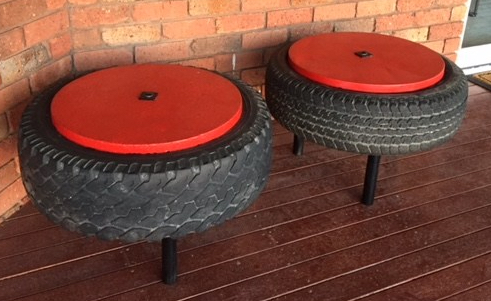
Step 6: Assemble the table top and wooden circle either side of the tyre and bolt together
Voila! A sturdy coffee table (or two in our case) … and when we need to position them, we can just roll them into place!
We achieved two of our three goals: practicality and clearing space. On frugality we were not so successful, especially if we factor in the cost of labour, but on the plus side, nobody else will have coffee tables quite like ours.
Next Time, back to a writing topic: Real Versus Fictional Blogs

Awesome job, totally unique, who knew Andrea could wield an angle grinder!
LikeLiked by 1 person
I have many hidden talents.
LikeLike